
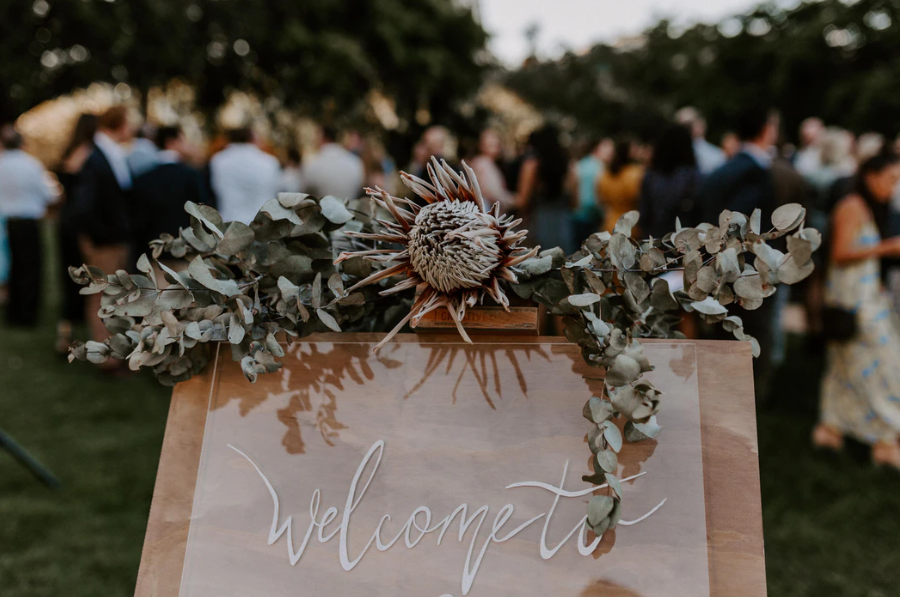
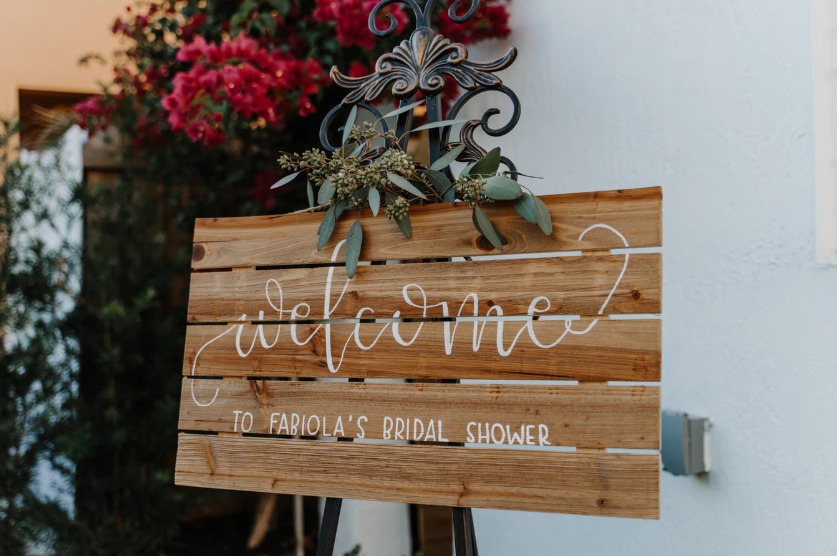
What's one wedding trend that isn't going away any time soon? Cute, clever, and witty wedding signs! Whether it be for decorative or informational purposes, signage is essential. You'll want to put these up as a creative way to share personal messages at a ceremony or reception. If you're wondering what details you can include, here are a few:
-
a witty welcome message
-
ceremony program
-
funny and cute love quotes
-
directions
-
a hashtag for social media sharing
Now, it's time to learn how you can make your own! Here are three of the easiest tutorials for making wedding signs.

Reverse Stencil Using Stickers
You can achieve a reverse stencil effect with a set of stickers and some spray paint. And yes, it's as easy as it sounds! You'll need just three materials and you're good to go.
What You'll Need:
-
any material you want to use as the sign's base (birch plywood, canvas, driftwood, glass, cardboard, etc.)
-
cute stickers (letters, shapes, and numbers)
-
spray paint
What to Do:
-
Paint your sign the same color as you'd like your letters to be.
-
Spell out your message using the stickers. You can include fun shapes as well!
-
Spray paint over the stickers. You can even get creative and make an ombré effect with two colors.
-
Remove the stickers to reveal a reverse stencil effect.
If you don't have the skills of a calligrapher to make a hand-written sign, don't fret! This is an easy technique to create a beautiful customized sign. The trick is to choose a design with a "hand-written" font for an authentic feel.
What You'll Need:
-
a design printed on regular paper
-
chalk or graphite
-
pencil
-
paint pen
-
birch plywood
-
tape
-
cloth
What to Do:
-
Look for a quote, illustration, or whatever design online. You can even make your own!
-
Print out the design on a regular piece of paper.
-
Flip the paper and shade in the backside with graphite or chalk.
-
Flip back to the frontside and place on the birch plywood.
-
You can use tape to keep the design in place.
-
To transfer the design on the plywood, firmly trace the design on the transfer paper with a pencil.
-
Remove the paper to reveal the design's outline transferred onto the plywood.
-
Use a paint pen to trace the outline.
-
Carefully wipe away any chalk/graphite residue with a cloth.
-
All done! You can leave it as is and place it on a stand. Otherwise, you can adorn it with decorative pieces or put it in a frame.
Decoupage Your Message
Who says the decoupage is out of style? It's one of the easiest ways to adorn your sign with stickers or printed images. Reach out for the Mod Podge hidden in your craft drawer and make your own!
What You'll Need:
-
Mod Podge or any decoupage glue
-
decoupage brush
-
any material as the sign's base
-
plain paint or spray paint
-
stickers, decorative paper, printed images, etc.
What to Do:
-
Paint the sign in your desired color.
-
Decorate the sign with the stickers or decorative pieces.
-
Use a decoupage brush to apply glue over your design. Apply up to three coats. Make sure to leave the glue to dry for an hour in between each layer of coating.
Recent Comments